DIY Modern Backyard Swing Set Under $500
If you’ve looked at swing sets recently, you already know how quickly the price can climb—and how hard it is to find one that actually looks good in your yard. When our kids were 5, 2, and 1, we wanted something sturdy enough to last, simple enough to fit our space, and convenient enough that outside play didn’t require loading everyone into the car for a park trip. Building our own ended up costing just under $500, gave us a much more solid result than many store-bought options, and became one of the most-used things in our backyard almost immediately.
When we built our backyard swing set, life with three little kids felt busy in every direction. At that stage, even making it to the park could feel like a whole production—finding shoes, packing snacks, loading everyone into the car, timing naps, and hoping no one melted down before we even got there.
That’s honestly one of the biggest reasons having a swing set right in our own yard has been priceless.
The convenience of simply opening the door and letting them swing for twenty minutes before lunch, while dinner is in the oven, or during that restless part of the afternoon has made it worth it over and over again. It gave us an easy way to say yes to outdoor play without turning it into an outing.
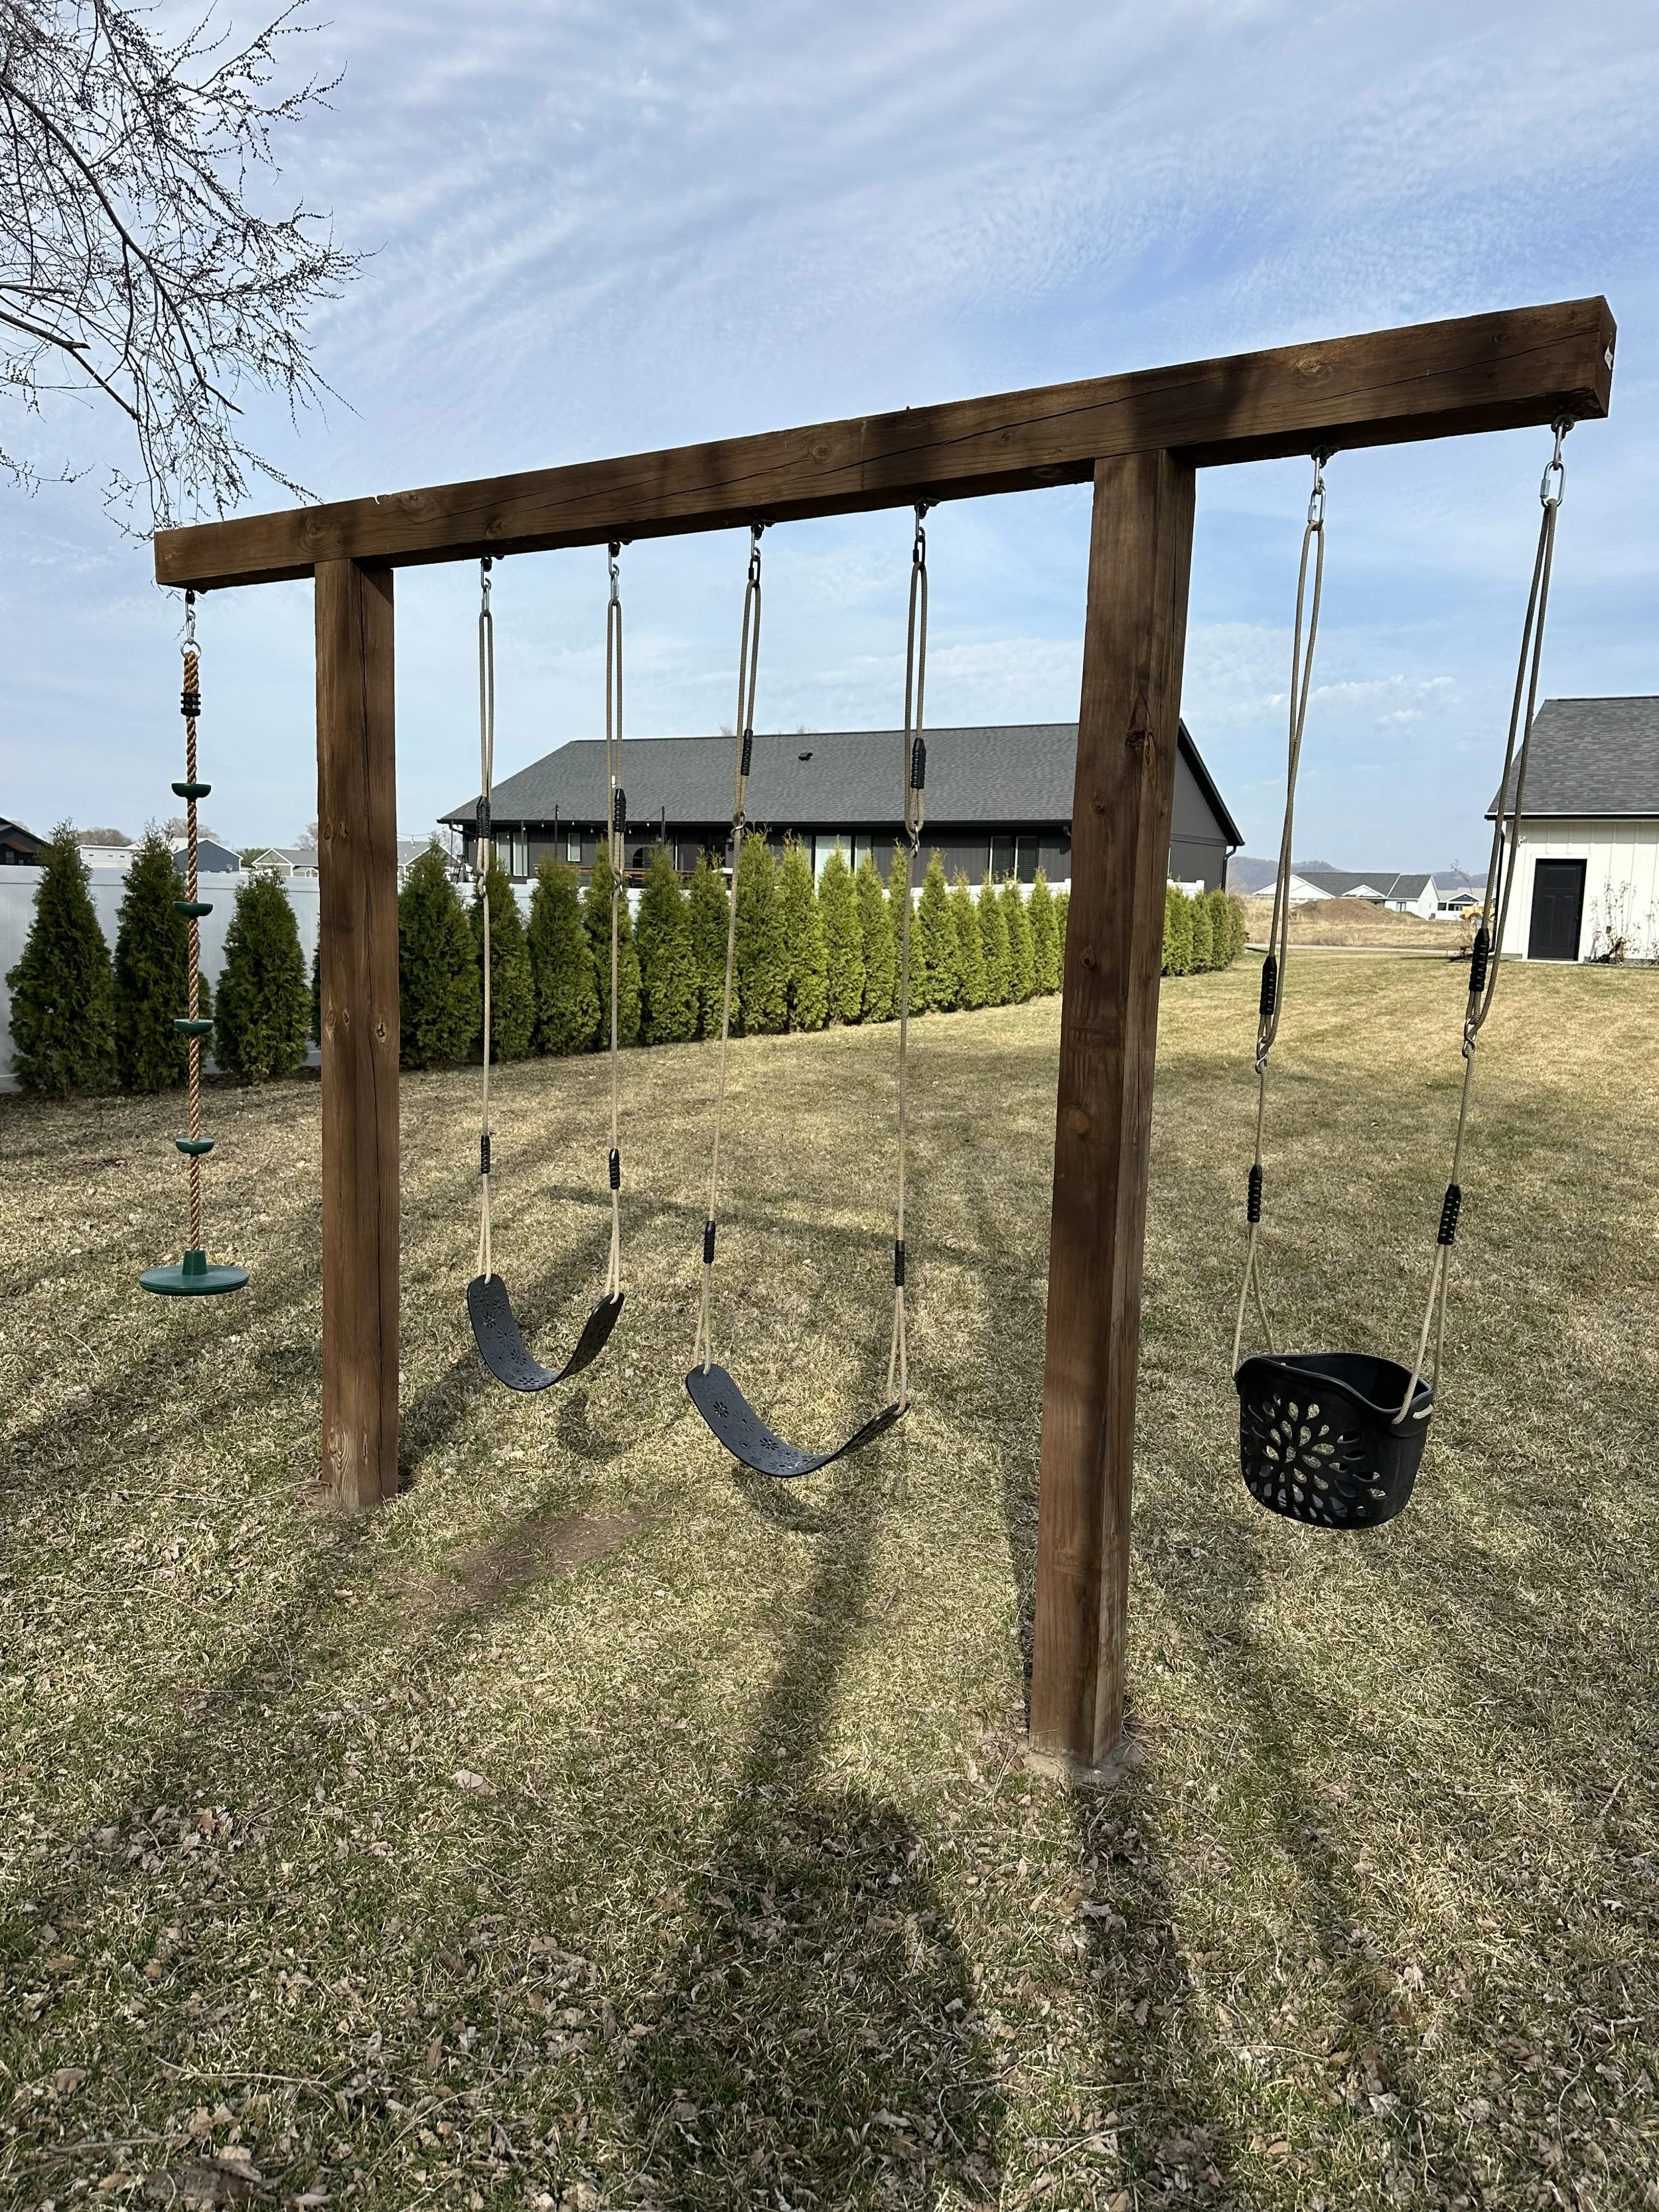
I had looked at plenty of store-bought swing sets before we built ours, but I kept running into the same problem: many of them felt bulky, overly busy, or just didn’t fit the cleaner look I wanted in our yard. I really wanted something that felt simple and modern—something sturdy enough to last but still visually calm in the space.
That ended up being one of my favorite parts of building our own. We were able to choose a layout that felt intentional and clean, and even now one of the things my husband appreciates most is how easy it is to mow around! That may sound like a small thing, but when something becomes a permanent part of your backyard, details like that matter a lot more than you realize.
The placement works naturally with the rest of our yard instead of creating awkward corners or becoming something you constantly work around. It feels like it belongs there.
Cost was another huge factor for us. We built ours for just under $500, which felt far more reasonable than many prebuilt options we had considered, especially considering how sturdy the finished result is.
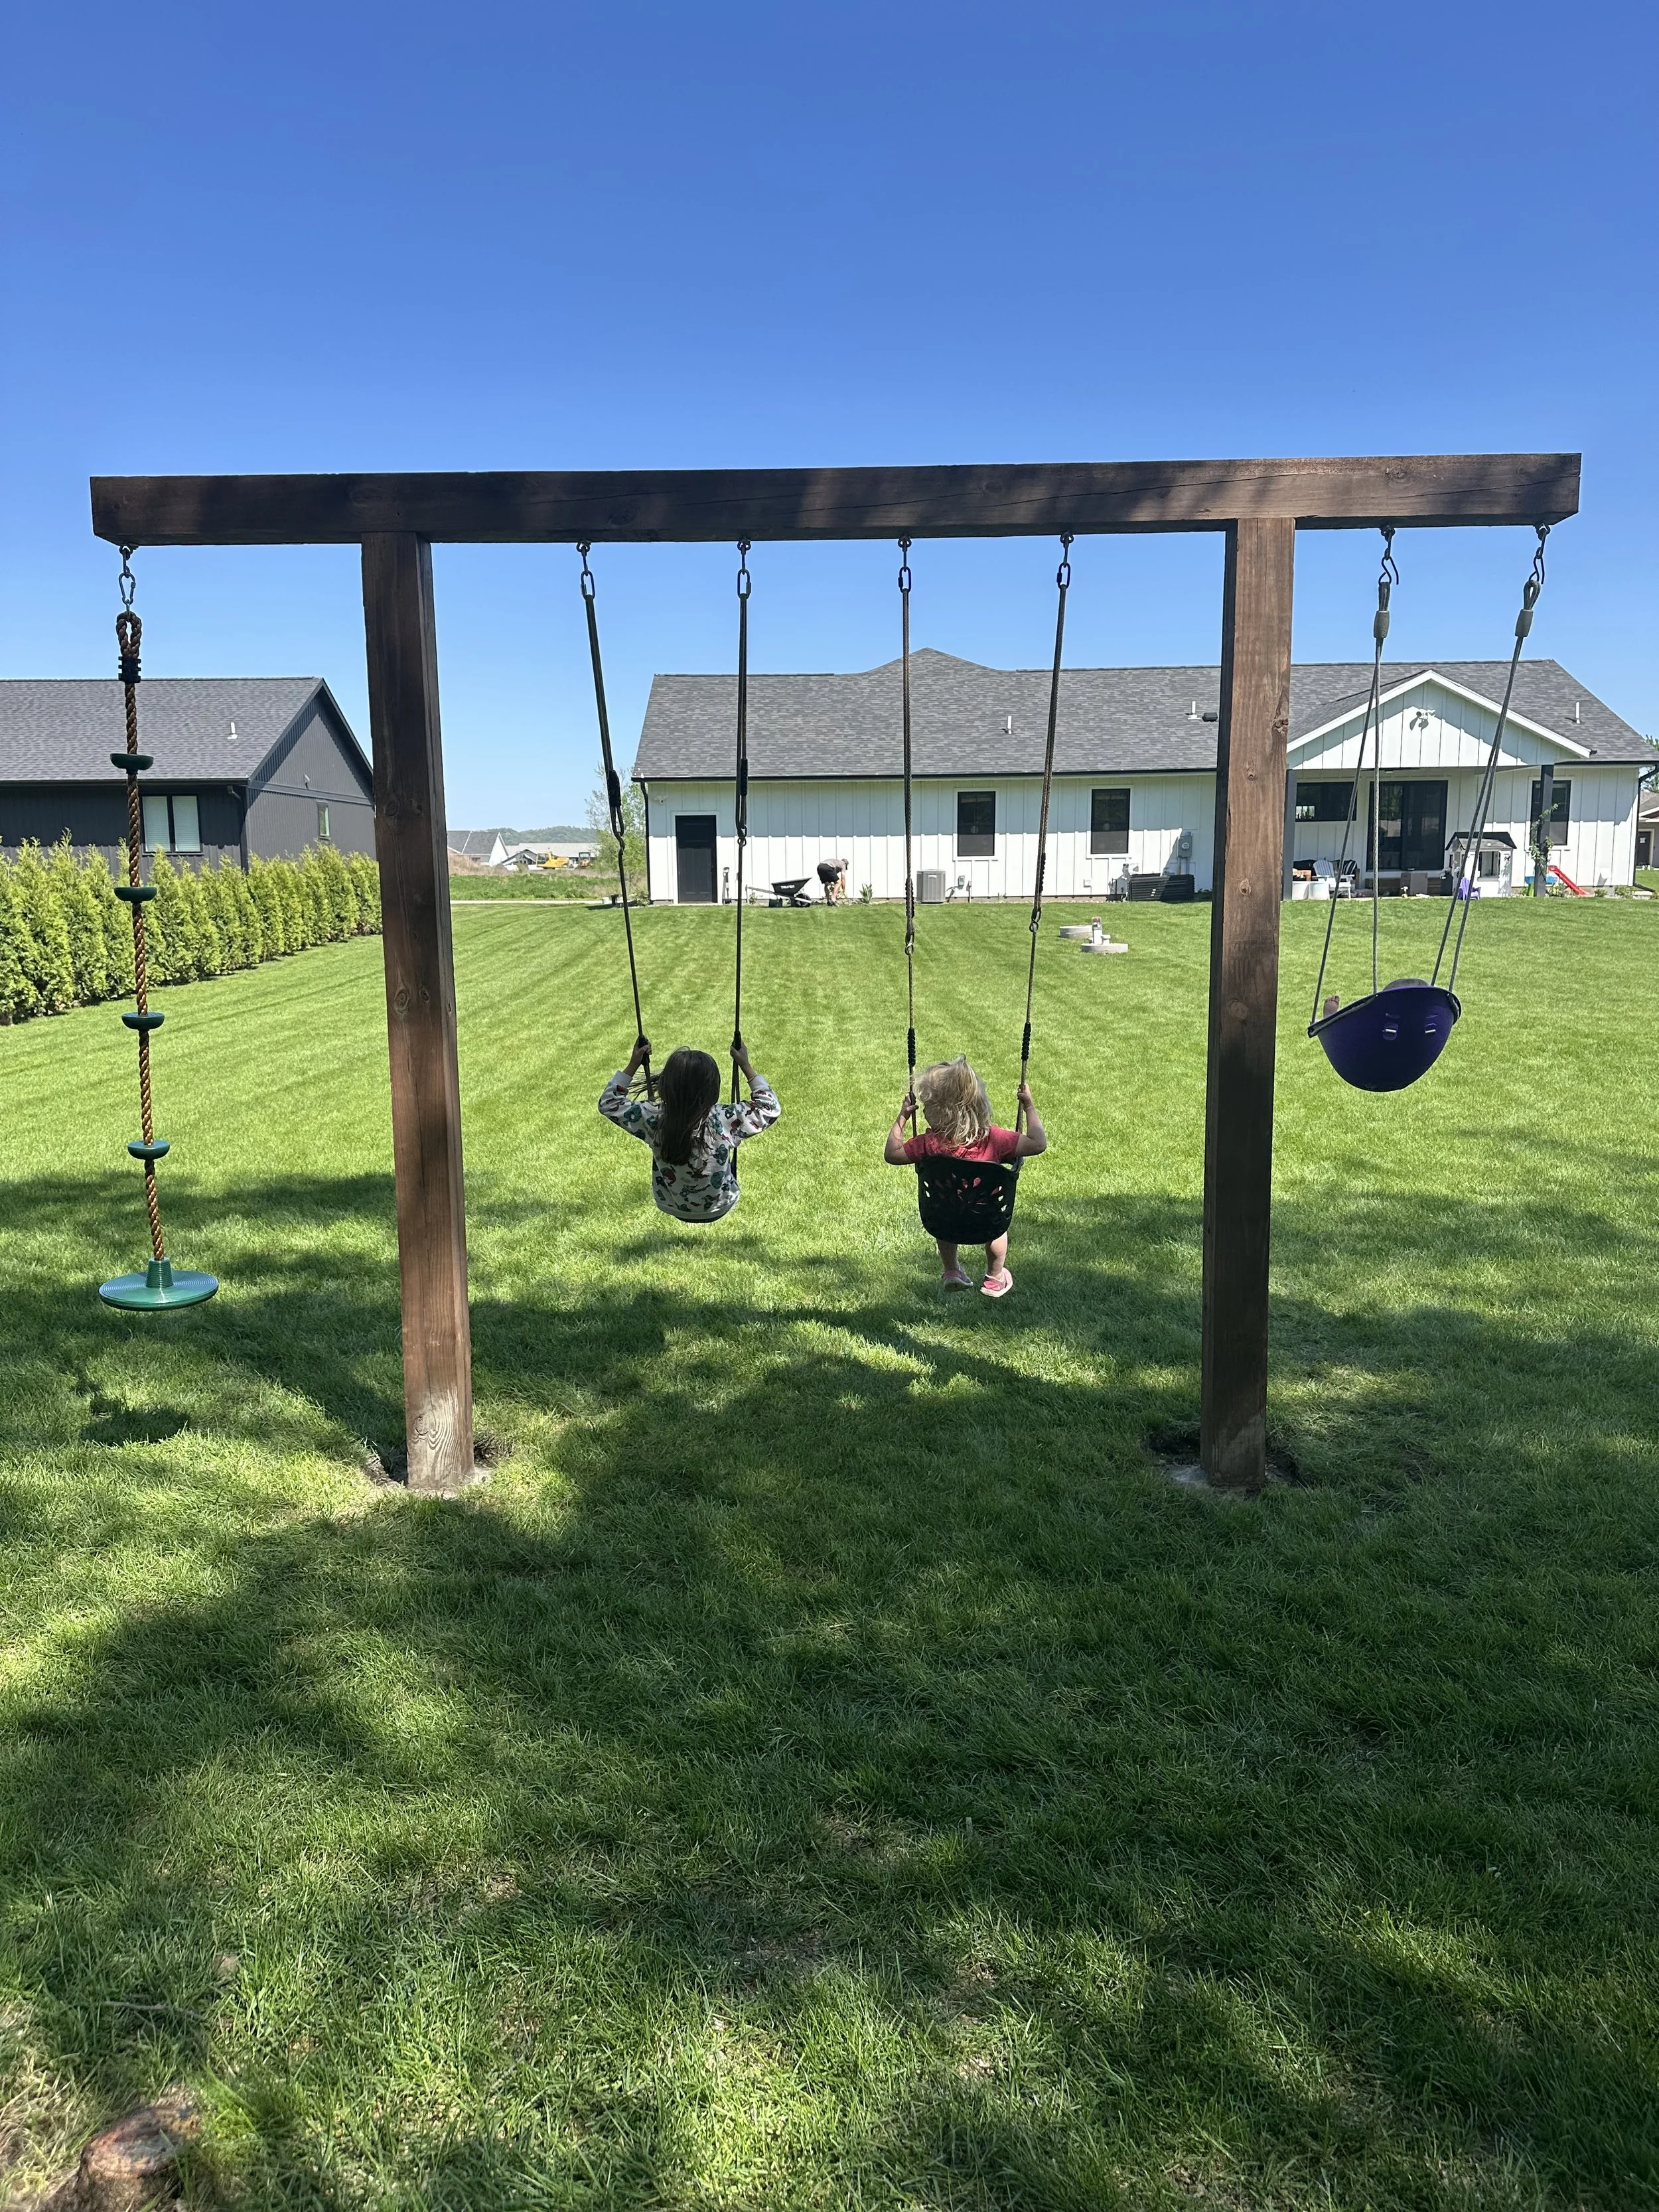
And when I say sturdy, I mean truly sturdy. The posts are set in concrete, so this is not the kind of swing set that rocks back and forth when your child reaches those highest swing moments. Even with enthusiastic swinging, it stays solid and secure—which was incredibly important to me with three little kids using it every day.
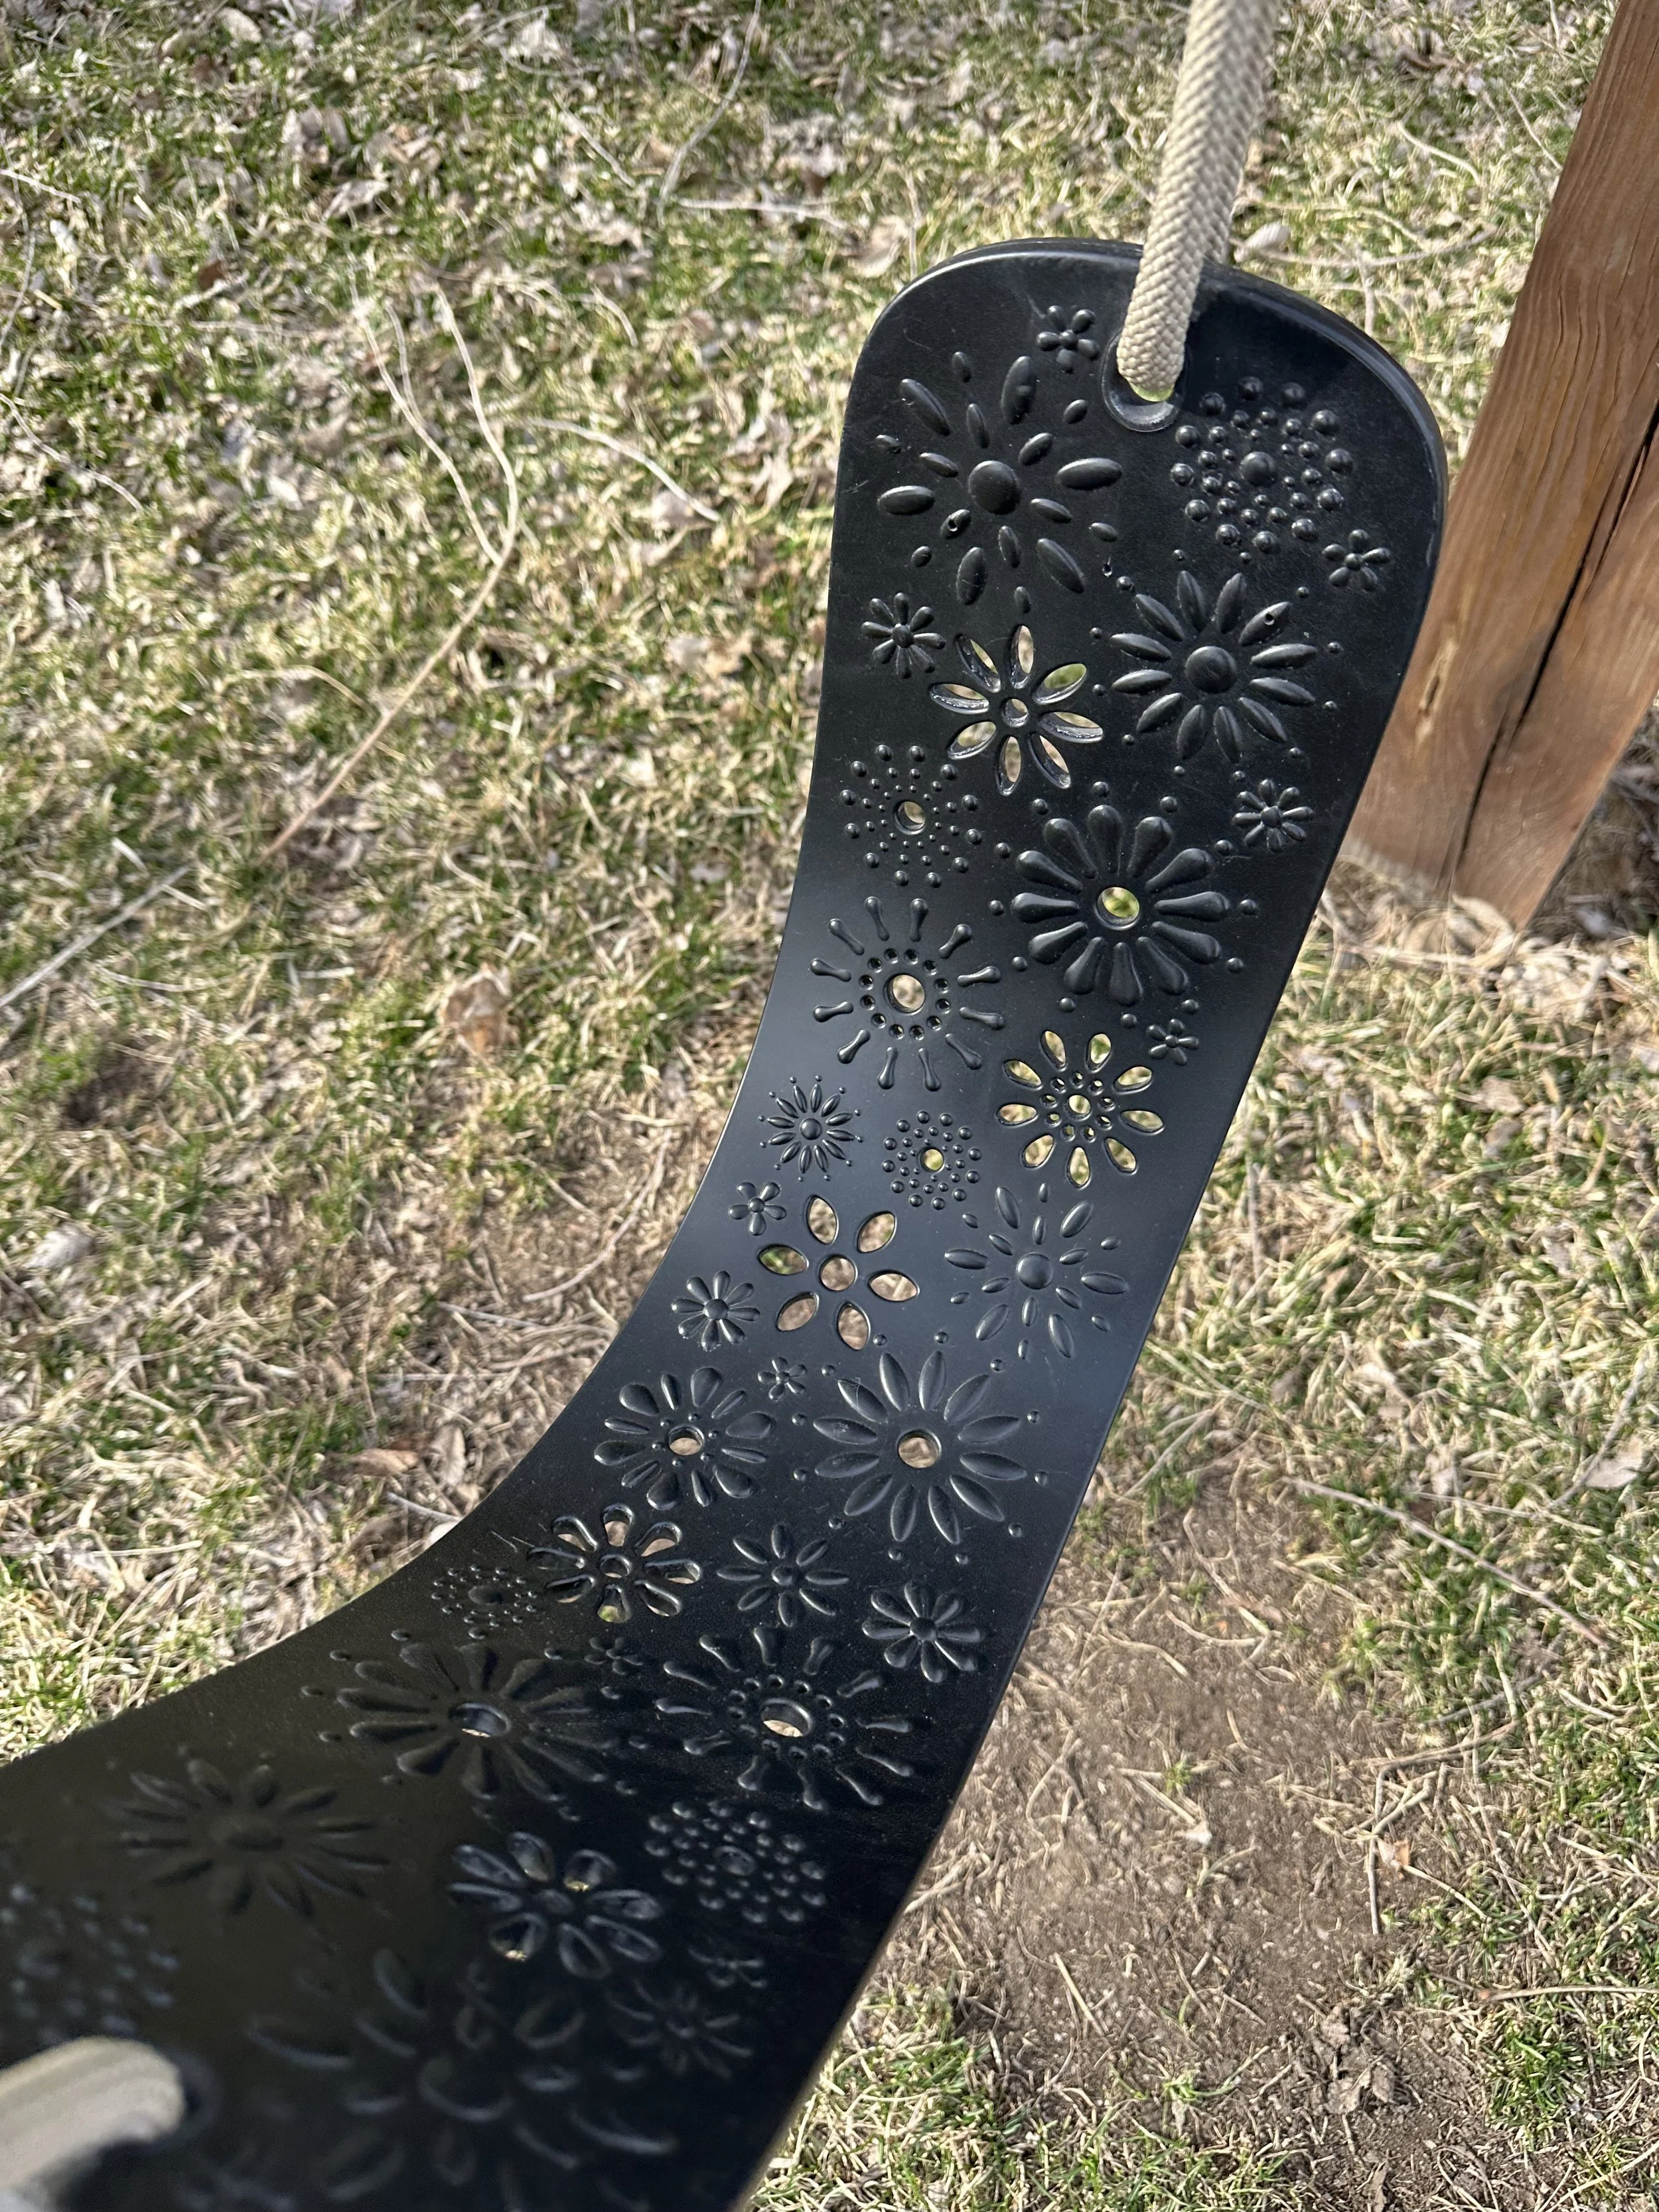
And because I care about aesthetics too, I wanted the swings themselves to feel beautiful—not just functional. One of my favorite finishing touches was choosing swings that still felt playful but also fit the overall look I wanted. The floral prints are especially sweet for my girls and make the whole setup feel even more like part of our home rather than standard playground equipment.
It feels sturdy, practical, and honestly just cute—which is exactly what I hoped for.
Like any DIY project, there were plenty of little decisions involved that you don’t fully think about until you’re in the middle of it: measurements, spacing, hardware, and making sure everything actually works together the way you imagined. Some parts were straightforward, and some definitely took more planning than expected.
That’s one of the reasons I eventually turned everything into a PDF guide. I know how helpful it would have been to have one clear plan from the beginning instead of piecing information together from different places.
If you want the exact measurements, lumber list, hardware details, and build notes we used, I put everything into one guide here: DIY Modern Swing Set Plans. The PDF is designed to make the process simpler if you’re considering building your own DIY backyard swing set and want a clear starting point. It includes materials/tools list with supply links for ease, step by step process that we used, safety considerations, and after a year of use - w hat I’d have done differently.
Now that we’ve had it for a while, I can honestly say it’s one of the most-used things in our yard. It gets used constantly, and it’s one of those projects that keeps proving itself worth the effort every season.
For our family, it solved the practical need for easy outdoor play—but it also became one of those everyday things that quietly makes home life better.
Happy building,
-Sydnie